Customers, Boxes, Products, and Sales Channel
For the general configuration of sellers, you can register Customers, Boxes, Products, and Sales Channel on the platform to be able to use them later in “Order create”.
Step 1 – My costumers
1 – Add Customer – To add a new customer.
You can add manually or by importing file.
For the “Import from file” option, just download the example CSV, fill in the information, and
upload it.
2 – Download customer(s) – You can select customers and download information.
3 – Edit – To edit information about the customer.
4 – Delete – To delete the customer.
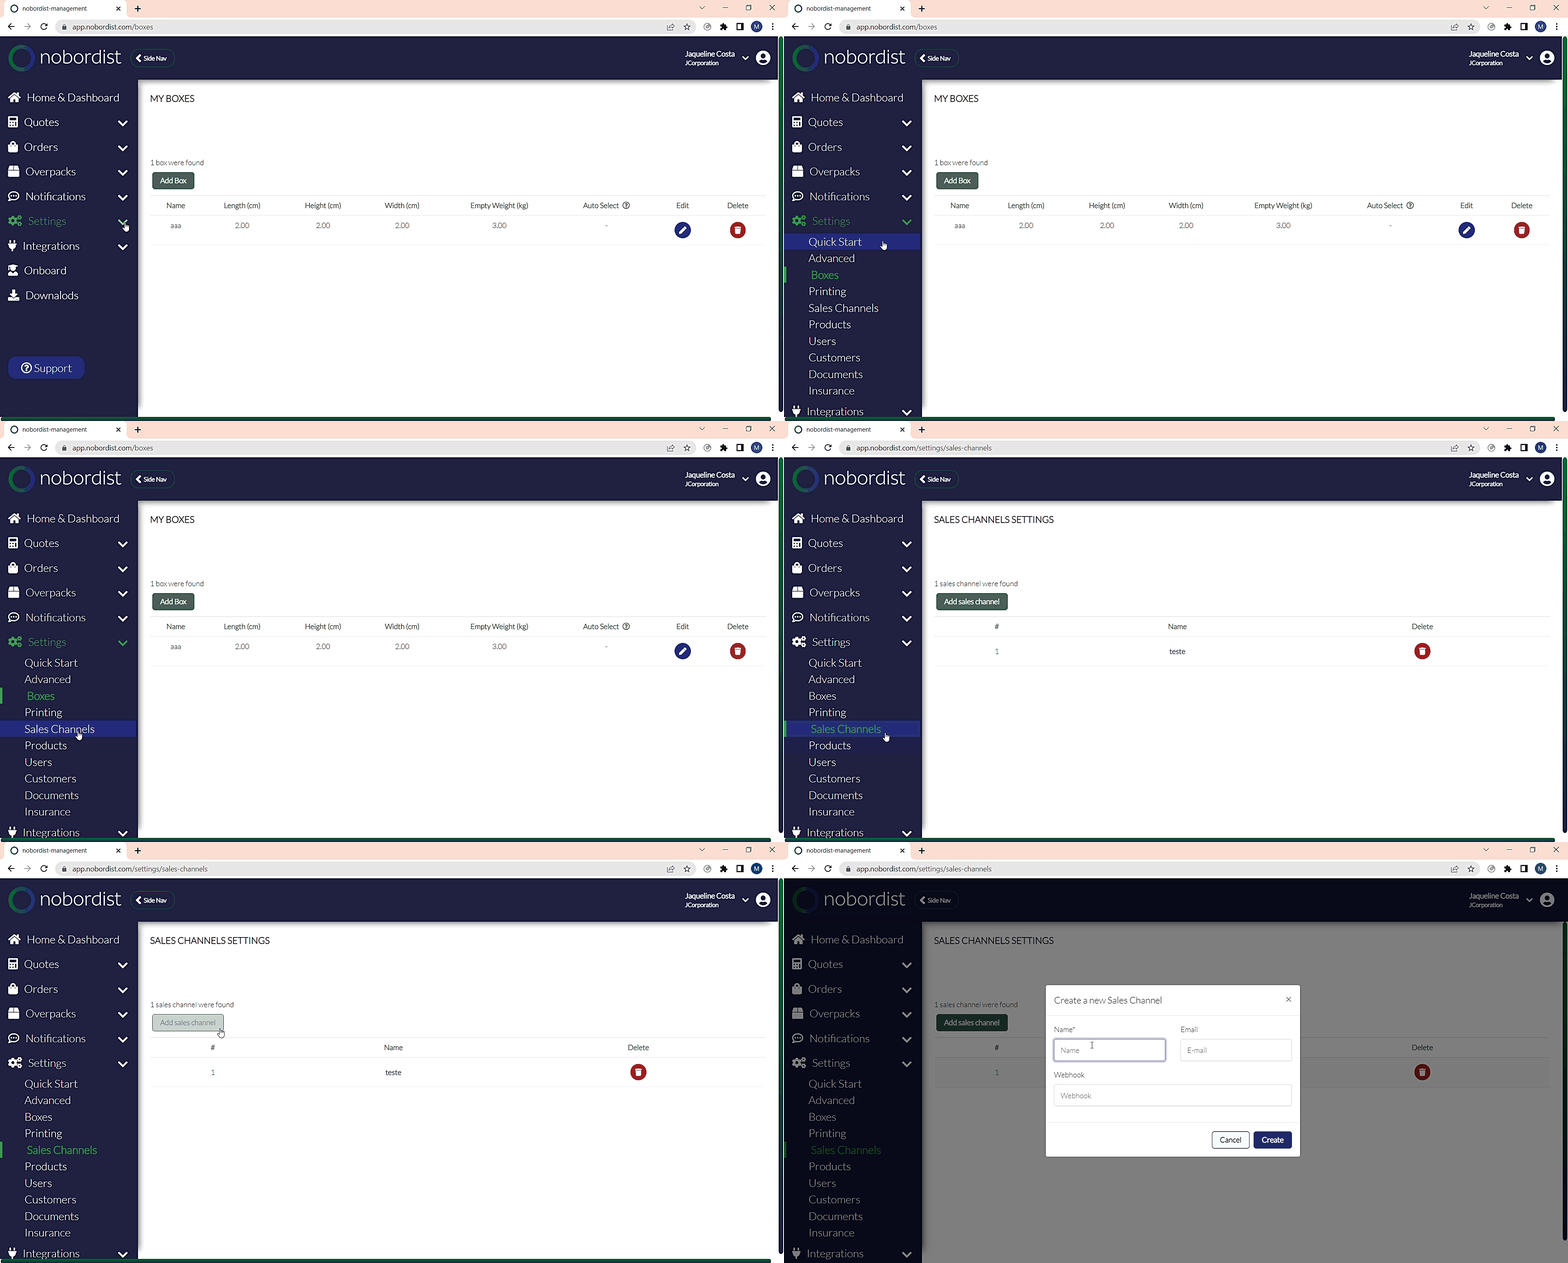
Step 2 – My boxes
1 – Add box – To add a new box.
Just fill in the information and click on “Create box”
2 – Edit – To edit information about the box.
3 – Delete – To delete the box.
Step 3 – My products
1 – Add Product – To add a new product.
You can add manually or by importing file.
For the “Import from file” option, just download the example CSV, fill in the information, and
upload it.
2 – Download product(s) – You can select products and download information.
3 – Edit – To edit information about the product.
4 – Delete – To delete the product.
Step 4 – Sales channels settings
1 – Add sales channel – To add a new sales channel.
The e-mail information is useful because you can configure e-mail to be able to notify the sales channel.
Just fill in the information and click on “Create Sales Channel”.
2 – By clicking on the sales channel name you can view and edit the information.
3- Delete – To delete the sales channel.


